 |
| Key Lime Flan ingredients |
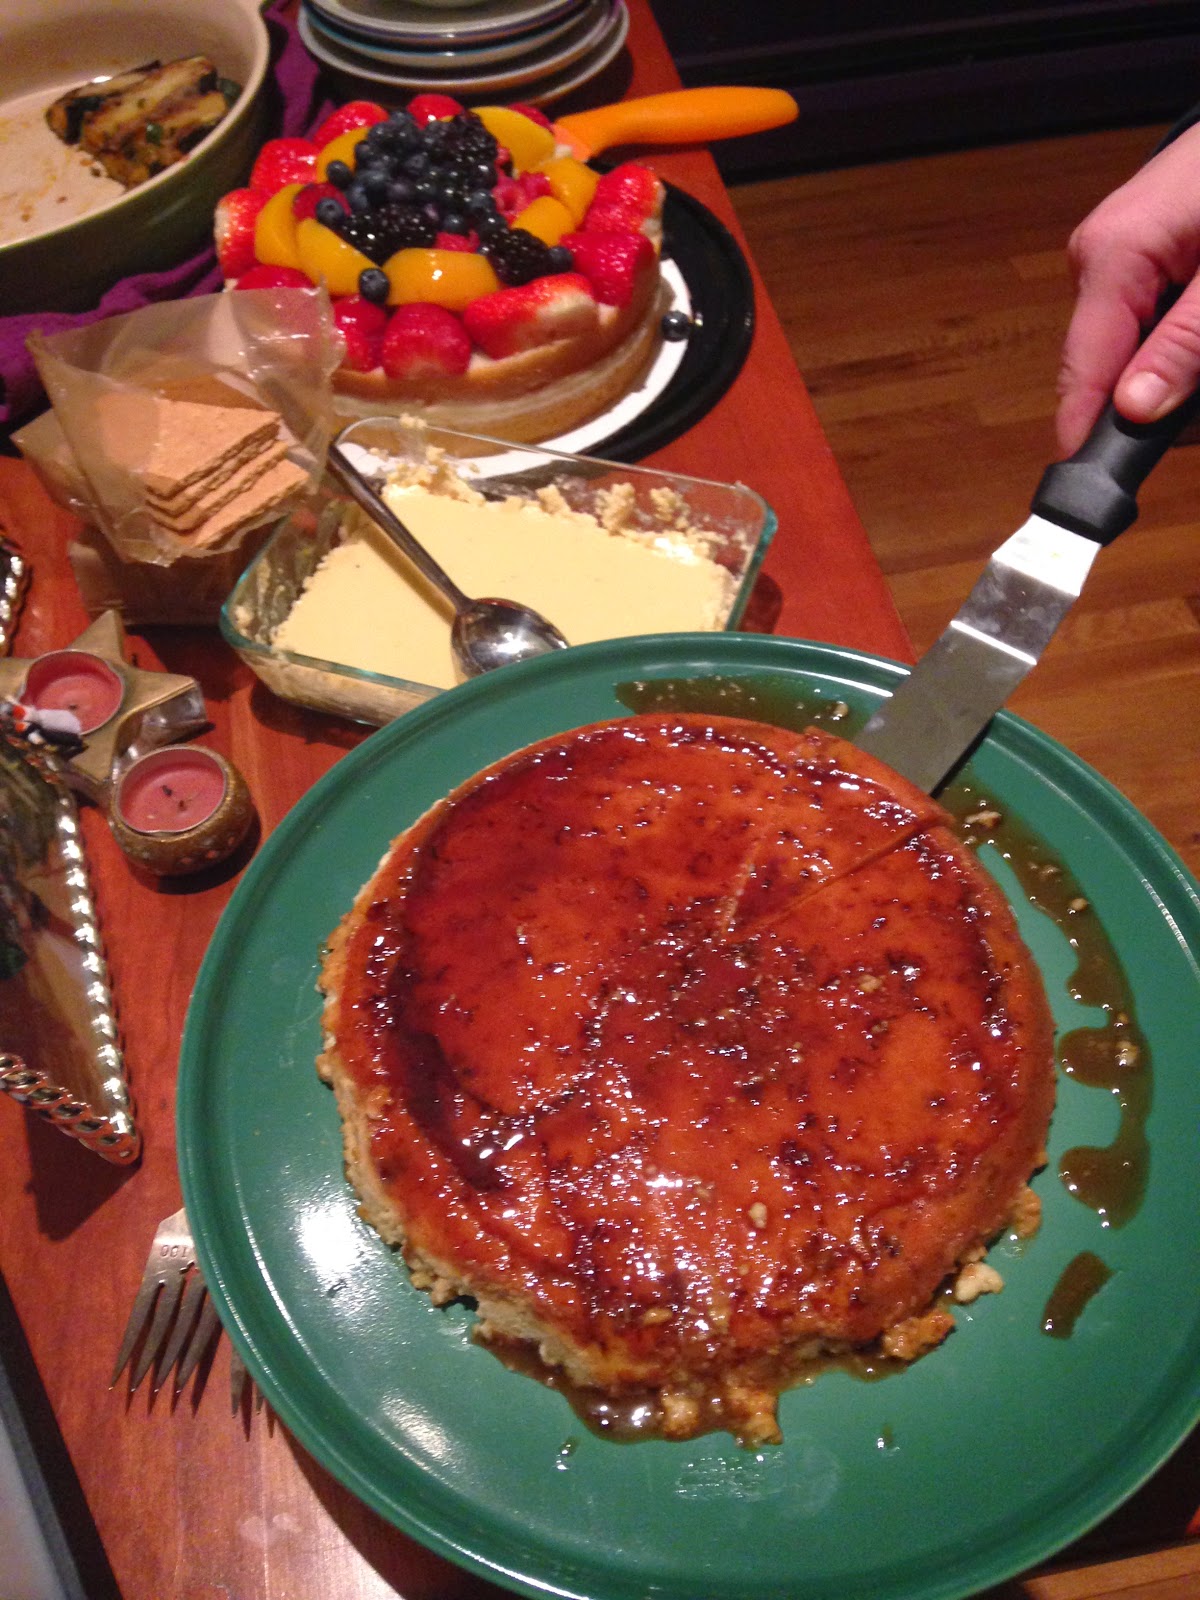
My momster grew up in Miami and made flan for grownup parties for years, as did her Mexican mother before her. As a kid, it hugely grossed me out. Too sweet, too putty colored, and too much but not enough jiggling and squish. Recently, she made it again, and I found myself surprised that I enjoyed it. Dead old person tastebuds or something? For an even more recent potuck, I decided to see if I could hybridize it with another Miami fav: key lime pie. I love everything about key lime pie, except the crust. Something about the repurposed graham and butter...meh, it just ain't my jam! But the filling and flan are almost the same recipe, so I thought it was worth a try. My mother's helpful feedback when I requested the recipe involved sending me six different recipes and telling me it wouldn't work, before sending me the real recipe, two weeks later, but still in the nick of time! It also included the guidance that spilling hot caramel on oneself was inadvisable. Her recipe didn't provide ounce measurements for the cans, so I've got with the most standard seeming size. What resulted had great flavor - but my flan flipping technique leave a bit of room for improvement...
Enjoy!
Key Lime Flan
Adapted from my mother’s recipe for regular flan (who said “That’ll never work!”)
 |
| Key Lime Flan |
Ingredients
1 can evaporated milk (14 oz)
1 can condensed milk (12 oz)
½ cup key lime juice
4 eggs
¾ cup sugar (granulated or turbinado)
zest of 1-2 limes
hot water
Graham crackers, whole or crushed as a garnish
Directions
- Preheat oven to 350.
- In a saucepan over low, caramelize sugar. Quickly zest in half to a whole lime, and carefully pour into your mold. Let cool entirely.
- Whisk remaining ingredients, including more zest, into a large bowl very well (3-4 minutes). Pour into the mold over the caramel.
- Place the mold into a larger dish, and pour in a bath of hot water, leaving plenty of room (roughly an inch) below the lip of your mold.
- Carefully place the container into the oven and cook for 45 minutes to 1 hour until the flan sets.
- Carefully remove from the water bath and let rest at least two hours on a wire rack. Chill and serve - this means summon your courage, run a sharp knife around the edges of the flan, and flip with great confidence onto a serving platter. You may need to get a little violent…
 |
| Flan, taking a bath in the oven |
 |
| Key Lime Flan |
Notes:
- This made considerably more than I thought. Make sure your dish is big enough, but it does taste good served scooped with a spoon.
- Ditto to this in terms of making sure there is a bit of room remaining in the dish - it'll be a million times less likely to splash, get splashed into, and get out of the water bath.
- Not sure if greasing the pan would make a difference in terms of getting this out cleaning...but at least use a sharp knife instead of a regular dinner one!


